
Installation Guide
Windows Installation Guide
Last updated: October 16, 2026
Step 1: Download the Windows Setup File Click here to download
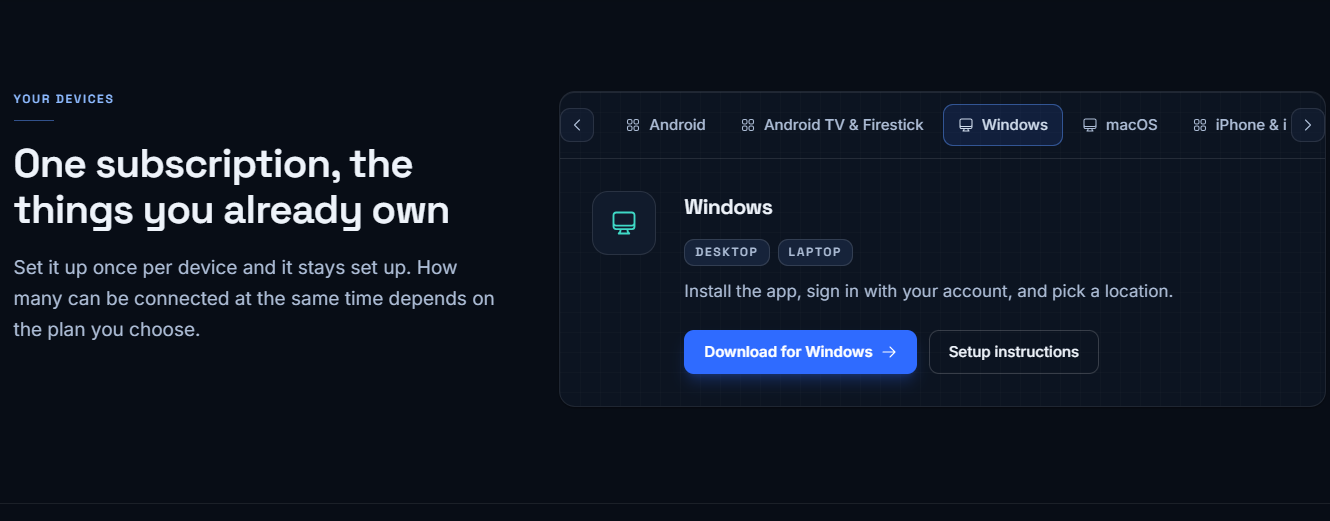
Navigate to the BrooksTech VPN download section on this website. Click the "Download for Windows" button to download the setup file.
Step 2: Run the Downloaded Setup File
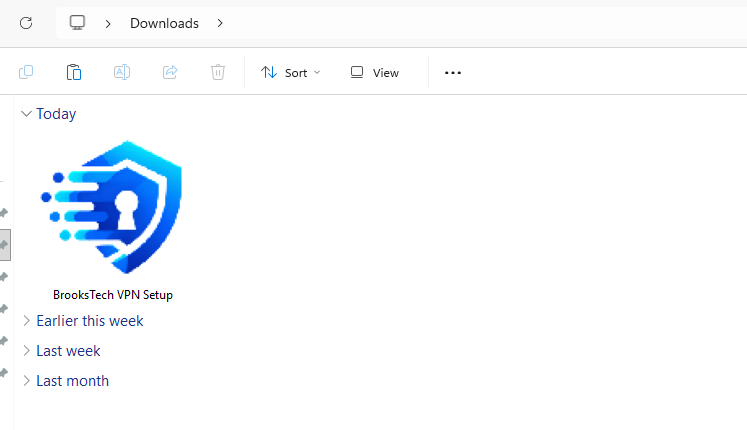
Open your Downloads folder and double-click the "BrooksTech VPN Setup.exe" file to launch the installer.
Step 3: Click on "More Info"
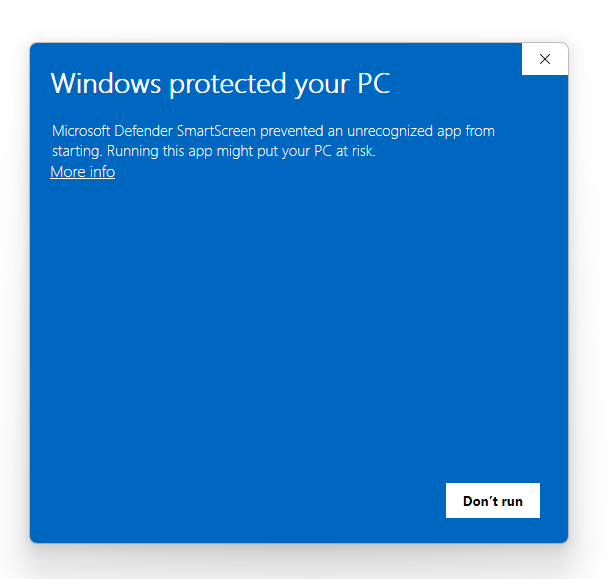
When Windows SmartScreen displays a security warning, click "More info" to see additional options.
Step 4: Click on "Run Anyway"
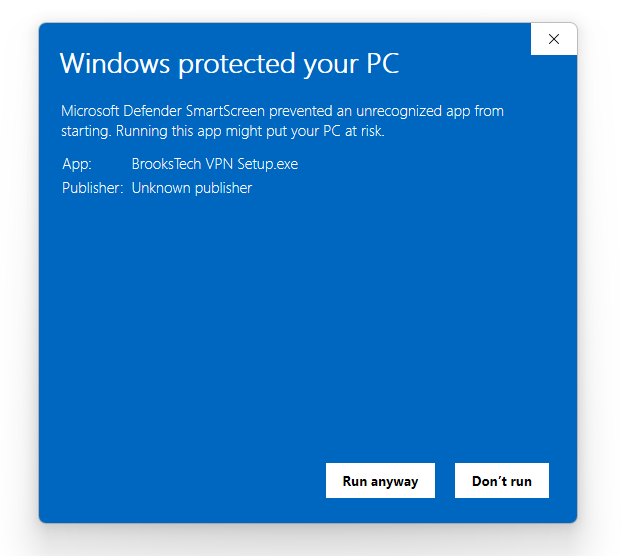
After clicking "More info", click "Run anyway" to proceed with the installation.
Step 5: Click on "Install"
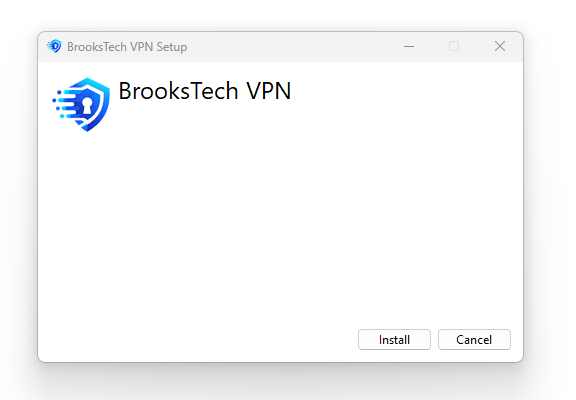
In the installation wizard, click "Install" to begin the installation process.
Step 6: User Account Control - Click "Yes"
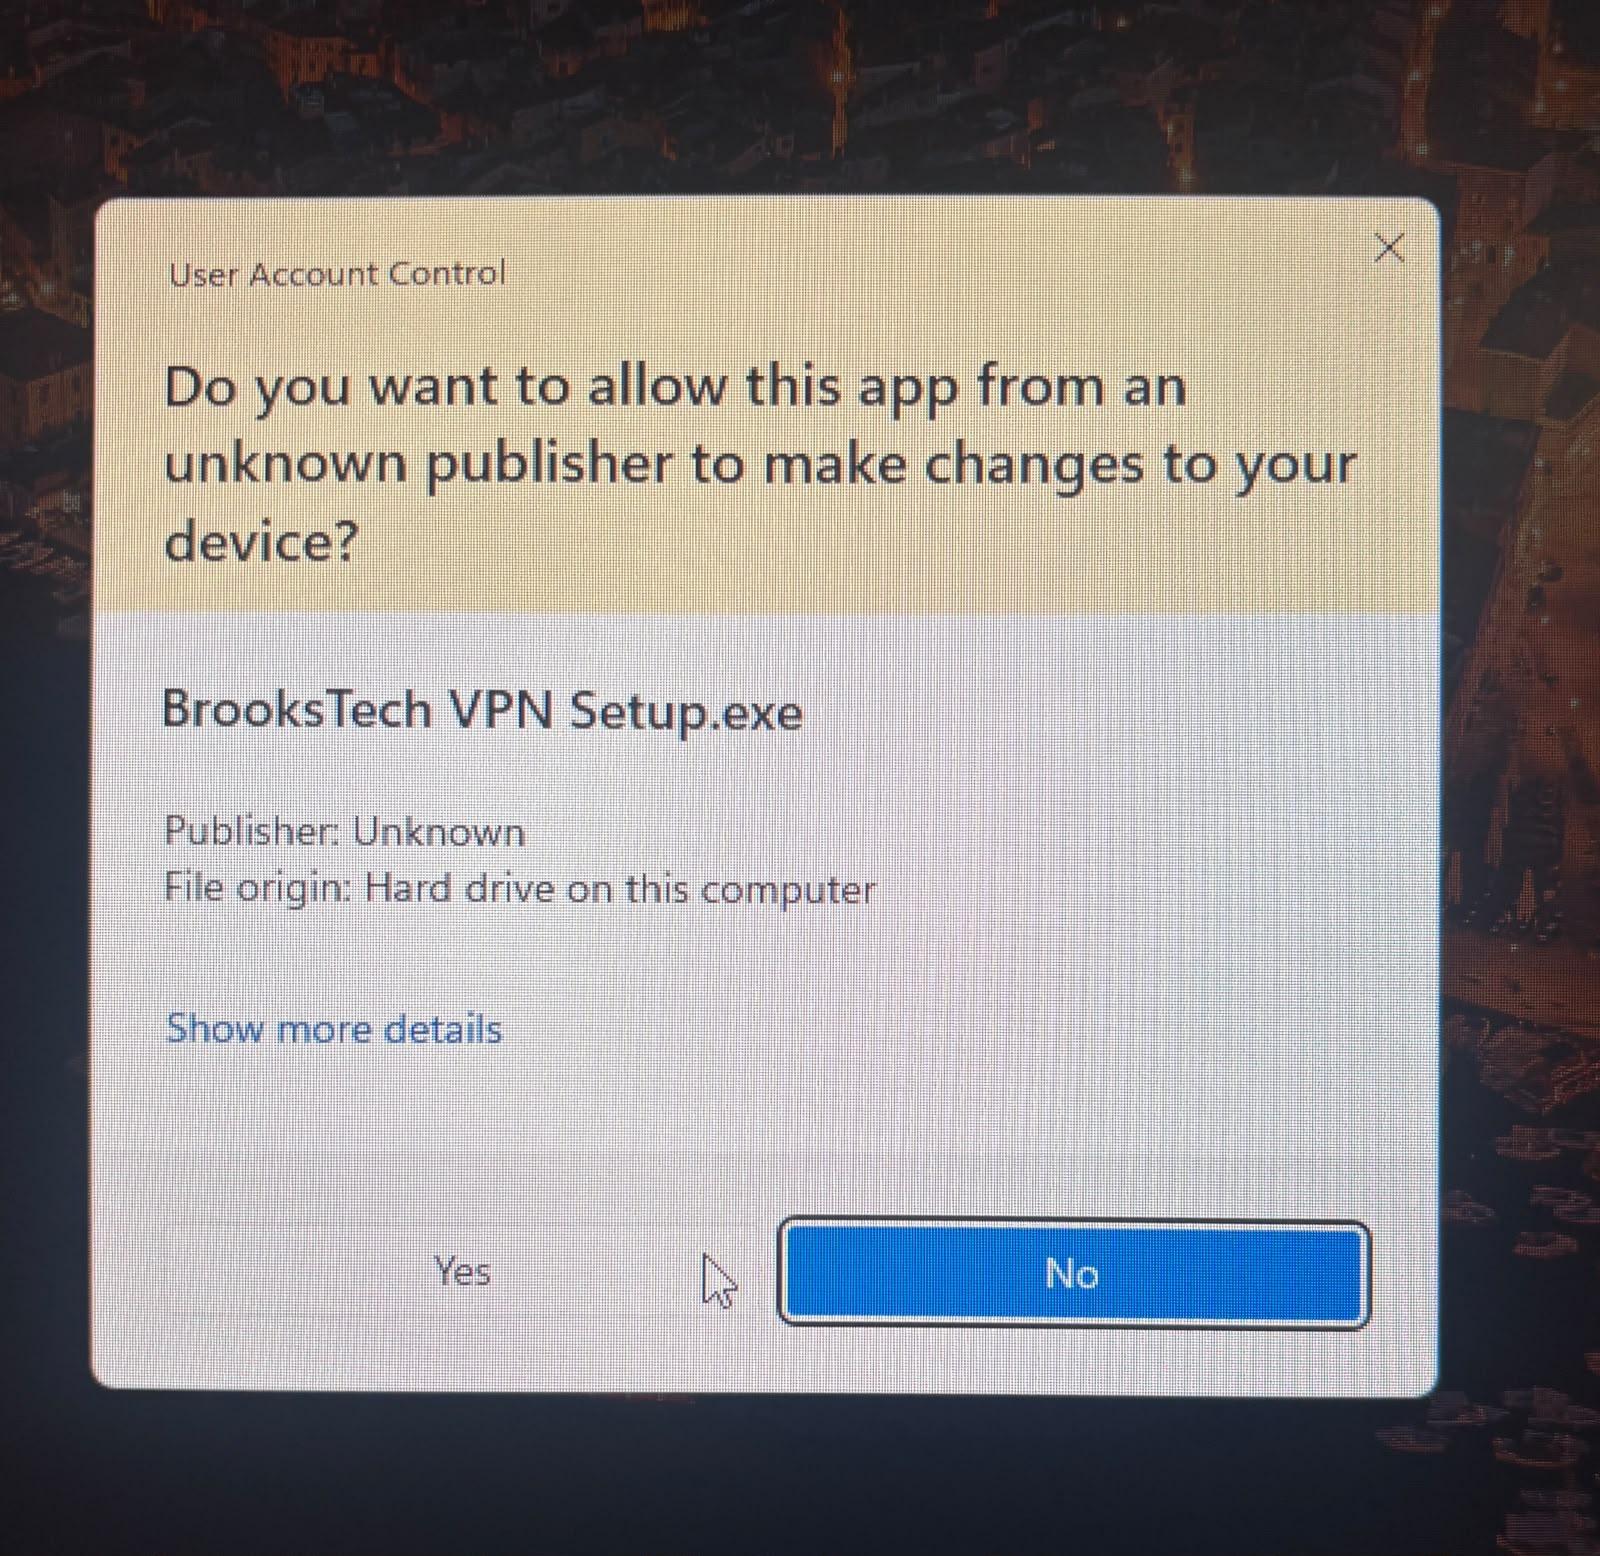
When the User Account Control popup appears, click "Yes" to allow the app to make changes to your device.
Step 7: Installation Complete
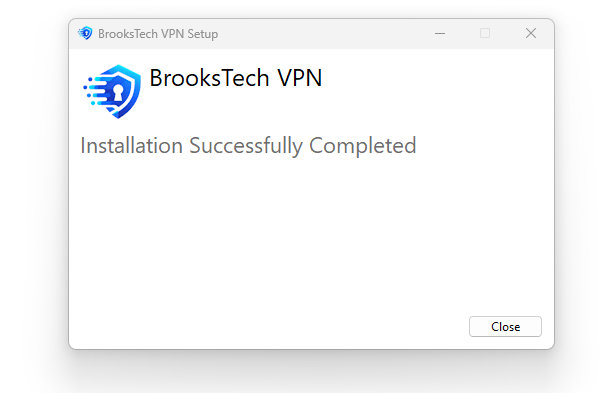
The installation is now complete. Click "Close" to close the installer.
Step 8: Search BrooksTech VPN in Start Menu
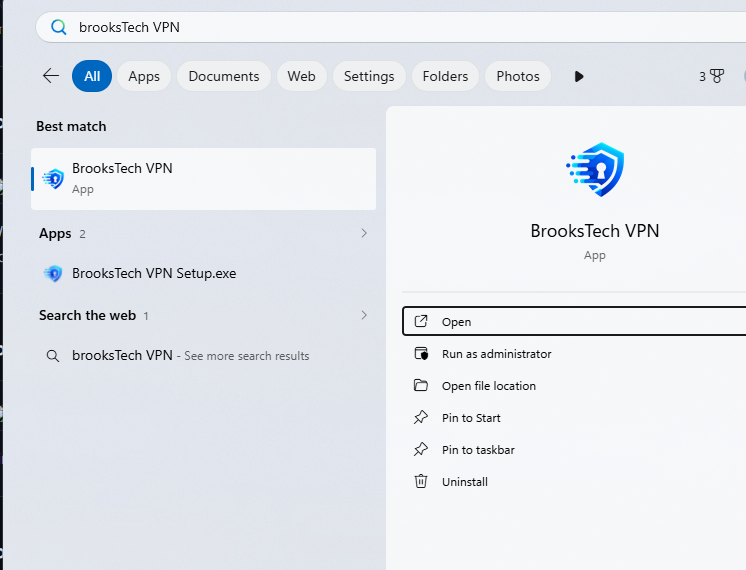
Open the Start menu and search for "BrooksTech VPN" to find and launch the application.
Step 9: App Login Preview
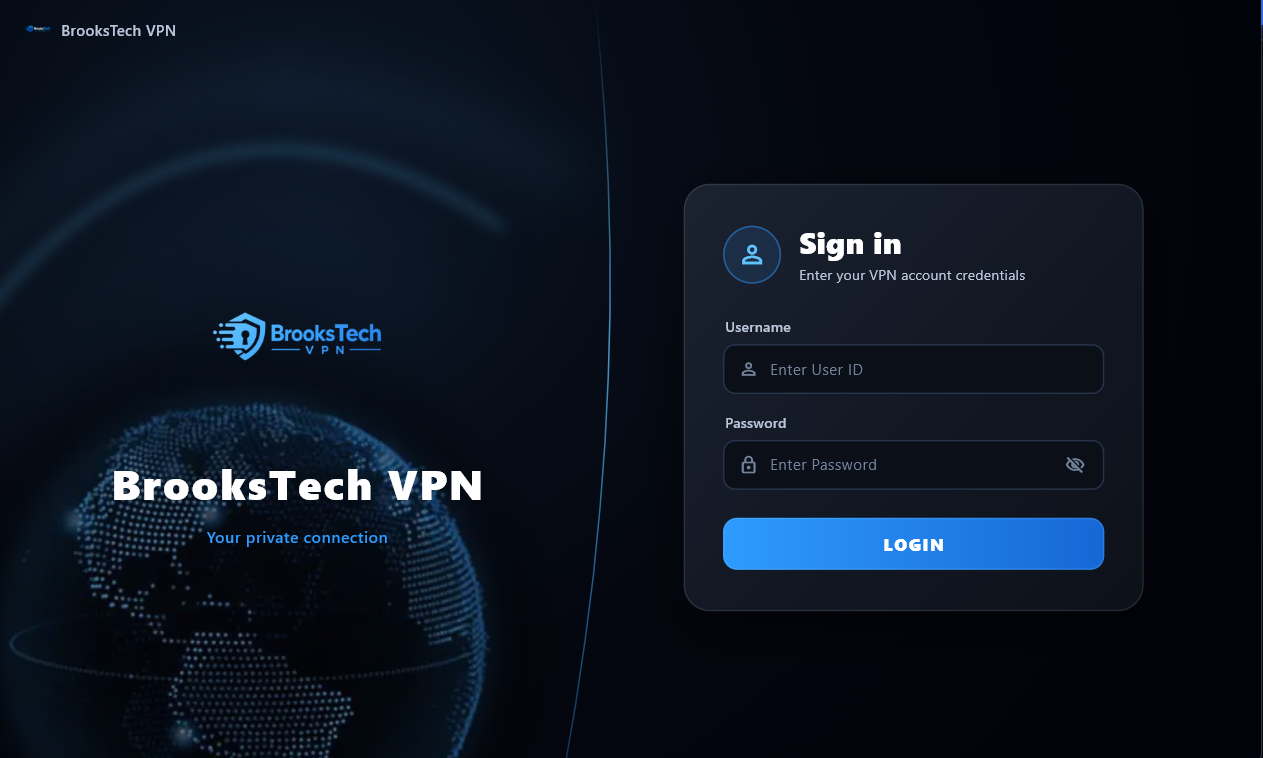
The BrooksTech VPN app login screen will appear. Enter your credentials to sign in.
Installation Complete!
Your BrooksTech VPN app is now installed and connected on your Windows PC. The VPN will run in the background, protecting your internet connection while you use other applications. To disconnect, simply click the "Disconnect" button in the app.